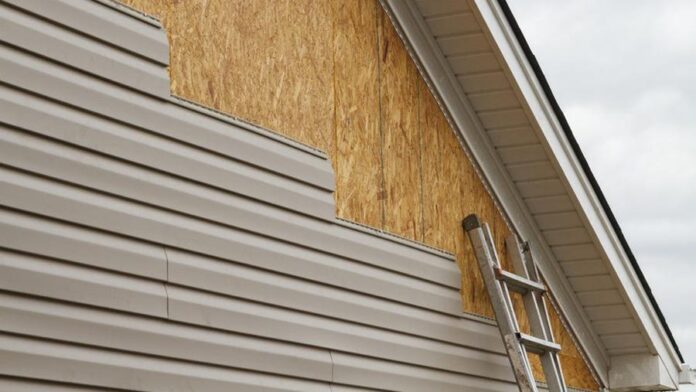
Siding installation is a big job, but it has many benefits. Not only wood exterior siding will improve the look of your home, but it can also help to protect home against year-round exposure to wind, rain, snow, and heat. The task may seem daunting, but the process can be smooth and stress-free if you know what to expect. Understanding the six steps of siding installation will help you be prepared for what’s ahead.
1. Consultation and Estimate
The first step in any siding installation is to consult with a professional such as KV construction. This is the time to ask questions and estimate the costs involved. Be sure to discuss your concerns and get all the information you need to make an informed decision. Try asking for at least three different estimates to get a good idea of the market rate.
2. Preparing Your Home
Once you’ve decided to move forward with the project, the next step is to prepare your home. This usually involves removing any existing siding and trimming and prepping the surface of your home for the new siding. Any loose nails or screws should be removed, and any holes or cracks should be filled. This is also an excellent time to install any new insulation you may need.
During the preparation, ensure that you take the necessary precautions to protect your home and belongings. This may include covering windows and doors with plastic or moving furniture and other items out of the way.
3. Removing the Old Siding
With everything ready to go, the old siding must be removed. This is a delicate process as too much force could damage the home’s structure. You want a professional siding contractor who knows how to handle this removal properly.
The first step is to remove any molding or other materials attached to the siding. These can be reused, so it’s important not to damage them. Next, the actual siding boards are removed one by one. These will likely be recycled or disposed of, so there’s no need to be too careful with them.
Once the old siding is removed, the contractor will inspect the underlying sheathing to ensure it’s in good condition. If there is any damage, it will need to be repaired before the new siding can be installed.
4. Installing the Siding
Now it’s time for the new siding to go up. The exact process will depend on the type of siding you’ve chosen. For instance, vinyl siding is installed differently than fiber cement siding. But in general, the process goes something like this:
- Any necessary trim is installed. This may include corner boards, fascia, and soffits.
- Next, the siding is cut to size and installed one piece at a time. The contractor will start at the bottom and work their way up.
- Finally, the contractor will install any additional trim or details, such as crown molding.
5. Finishing Touches
Once the siding is installed, just a few finishing touches are left. Any gaps or seams will be sealed with caulk to help prevent water damage. Then, any nails or screws that are exposed will be covered with caps or plugs. These final steps help to create a smooth, finished look. These details are essential to protect your home from the elements and look its best.
6. Cleanup and Inspection
Once everything is finished, it’s time for the final cleanup. The contractor will remove any debris and waste from the job site. They will also inspect their work to ensure everything is up to your standards. This is your last chance to make sure you’re happy with the results before they finalize the project.
When Should You Install New Siding?
One of the most important questions to ask when considering siding installation is when this project should be completed? Siding installation can be a significant investment and should be carefully planned to get the most return on investment. Depending on the type of siding chosen, this project can recoup over 80% of its cost when the home is sold. There are a few key factors to keep in mind when deciding when to install new siding.
Current Condition of the Home’s Siding
Take a close look at the current siding on your home. If it is cracked, peeling, warped, or otherwise damaged, it is time to consider new siding. Not only is damaged siding unsightly, but it can also lead to further damage to your home if not repaired or replaced.
Age of The Home’s Siding
Even if the siding on your home appears in good condition, it may be time for an update if it is more than 20 years old. Newer siding materials are much more energy-efficient than older materials, leading to lower utility bills.
The Climate in Your Area
If you live in an area with harsh weather conditions, keeping this in mind when deciding when to install new siding is crucial. Harsh winters can take a toll on even the best quality siding, so it is vital to be proactive to avoid any damage.
Style of Your Home
If you are planning to sell your home soon, choosing a siding material that will appeal to buyers is vital. Certain materials and styles can make your home more desirable, which can lead to a higher sales price.
Once all the six siding installation steps are complete, you can sit back and enjoy your new siding. This project can completely transform your home’s look while protecting it from the elements. With proper care and maintenance, your new siding should last many years.


